
Create a front-end form with CPT fields
In this tutorial I descipe how you van make a front-end form on your website. The input of the form will be saved in your Custom Post Type.
For this tutorial I use the events CPT and Events Fieldgroups as used in the “Query only future Events” tutorial.
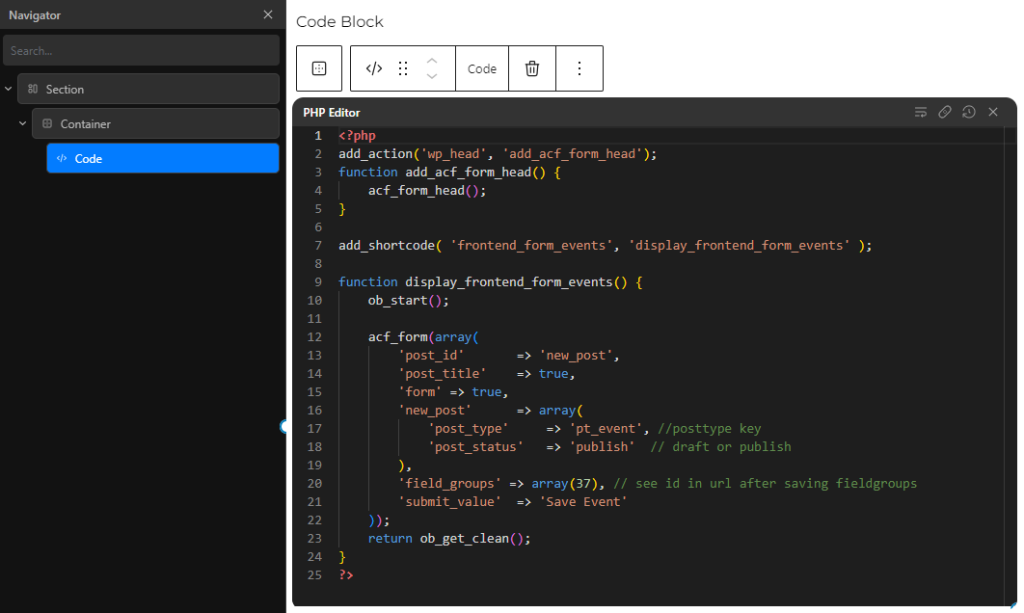
I created a new page and first I added the Code Block.
You can do it with a snippet-plugin too, or use a child theme and put in your functions.php.
(You can find the code also at the bottom of this page.)
A little explanation will be usefull.
Line 2 is to get the Headers from ACF. In some cases you have to give a priority to it. If you get errors or a blank page add ,0 to the add_action:
add_action( ‘get_header’, ‘add_acf_form_head’, 0 );
Line 7 is to create a shortcode to call the function on Line 9.
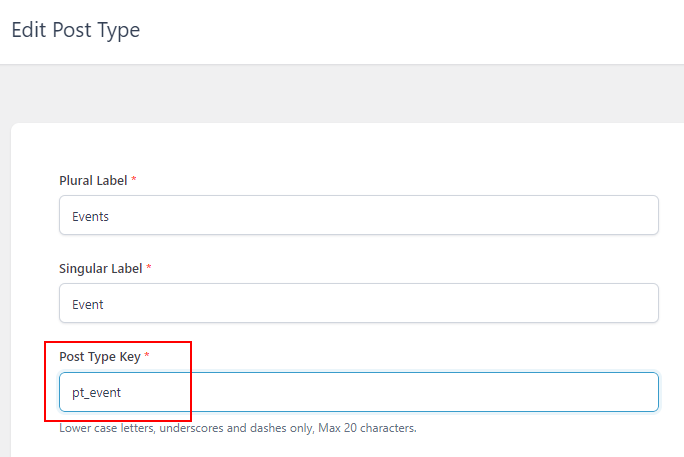
On line 17 you refer to your CPT. In this case pt_event. See your custom Post Type settings:
On line 18 you can set the status of the post. Will it be published immediately (in this case) or will it be saved as draft to get reviewd before publishing.
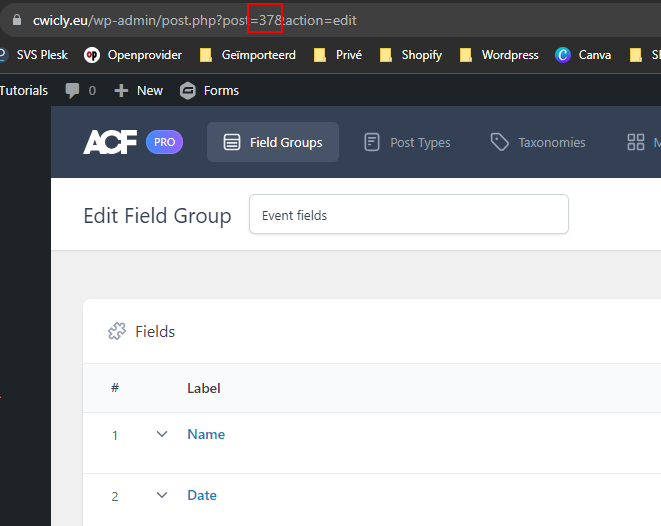
In line 20 you refer tou your custom fiels groups. You find the id in your URL:
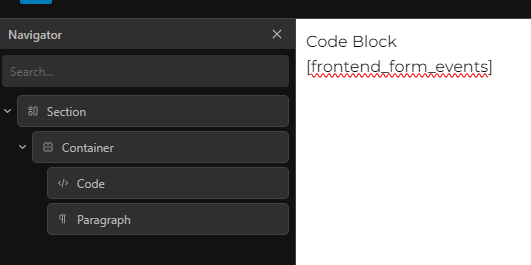
Now we can use the shortcode from line 7 to add on the page:
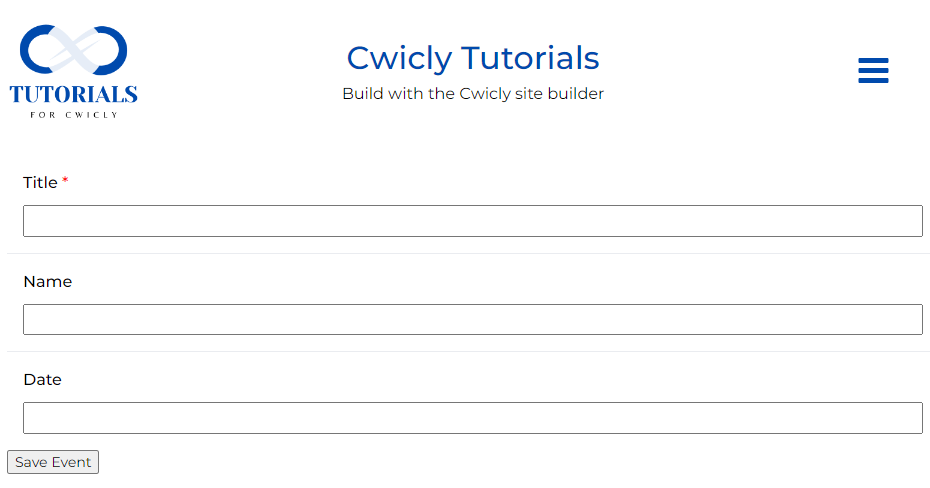
The front-end will look like this:
The Code:
<?php

add_action(‘wp_head’, ‘add_acf_form_head’);

function add_acf_form_head() {
    acf_form_head();
}

add_shortcode( ‘frontend_form_events’, ‘display_frontend_form_events’ );

function display_frontend_form_events() {
    ob_start();
    acf_form(array(
        ‘post_id’       => ‘new_post’,
        ‘post_title’    => true,
        ‘form’ => true,
        ‘new_post’      => array(
            ‘post_type’     => ‘pt_event’, //posttype key
            ‘post_status’   => ‘publish’  // draft or publish
        ),
        ‘field_groups’ => array(37), // see id in url after saving fieldgroups
        ‘submit_value’  => ‘Save Event’
    ));
    return ob_get_clean();
}
?>Design by Lijn-B
Made with Cwicly
Leave a Reply